Beer Braised Bratwurst

Yum
This one was to satisfy my desire to cook as much as possible on the grill, and to satisfy my son's desire for hot dogs!
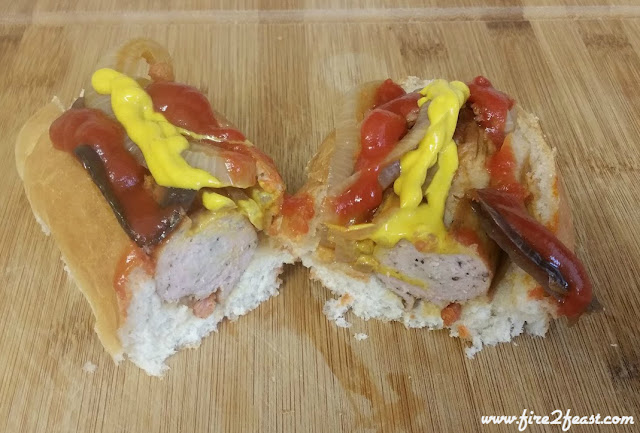
brats in buns with onions and sauce


As i said he wanted hot dogs and not wanting to disappoint i agreed to make him some.
I could have got some of those you get from the store in a tin or a jar and poured them in a pan to simmer for a few minutes, but where's the fun in that?
These are much better, much tastier and much Bigger just what a growing young lad needs!

Start by preheating your grill (or oven) to 230c (450f approx)
Next cut the two onions and lay them in the bottom of a roasting pan as flat as possible to allow plenty of room for the beer and bratwursts to fit in later as shown below.
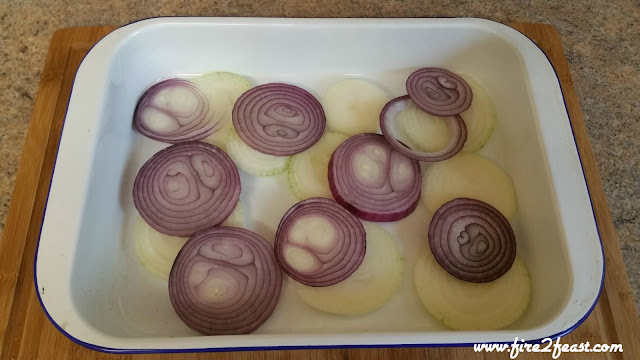
red and white onion sliced in a roasting pan
onion slices in the roasting pan
Next add the beer to the pan, use your favorite beer but i used old speckled hen, i used 2x500ml bottles so 1 litre of beer in total.
You may need more or less depending on the pan you use but the idea is to make sure there is enough to cover the onions and the majority of the bratwursts without overflowing when you put the brats in the pan.
As you can see from the picture below this amount of beer takes me nicely to just past halfway full in my pan.
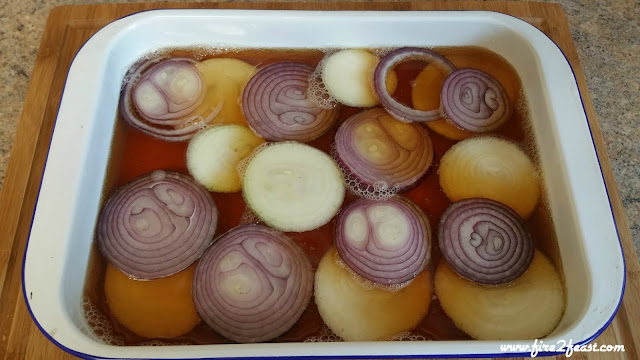
pan with onions half filled with beer
Beer and onions
By this point the grill should be about ready.
Cook the bratwurst sausages turning them occasionally to get them browned of with some nice colour.
The bratwursts don't need to be fully cooked at this point as they will be cooking in the beer bath we prepared previously, this step could possibly be left out all together but it adds colour and a crispy bite to the skins so its the way i like to do it.
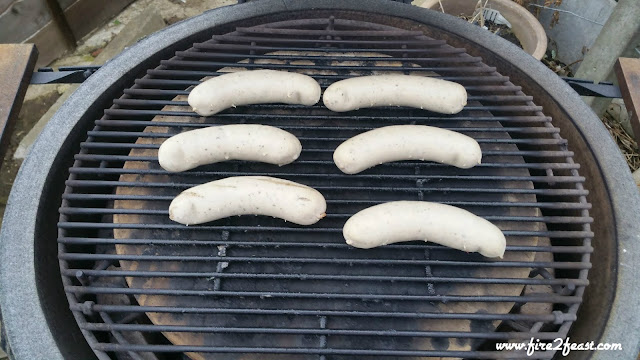
six bratwurst sausages on the grill
Brats on the grill
Once the bratwurst have a nice colour on them remove them from the grill and put the pan in its place.
Add the Bratwurst to the pan whilst trying to get covered by the beer as much as possible, if they are not completely submerged in the beer don't worry, we will be turning them anyway.
You can see how much difference it makes to brown the the brats of on the grill before putting them in the pan by comparing the above and below pictures, the above look white as a sheet where as the ones below have a lovely brown colour to them and it really makes a difference as you really do taste with your eyes!
Close the lid and let them cook for around 15 minutes, this gives time for the beer to warm and start simmering away to cook the onions and continue to cook the bratwurst through.
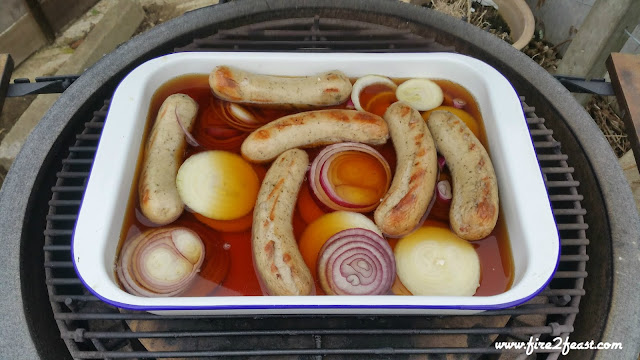
6 bratwurst in a beer bath with onions
Brats in the pan
After around 15 minutes give them a stir and turn their bratwurst over.
Do this twice more and after the third turn the beer should have reduced some and the onions should be cooked and softened.
Its at this point i like to add some diced chorizo sausage meat, if it's not your thing you can skip this all together but i find it adds a little more flavour.
bratwurst beer onions and chorizo in a pan
Chorizo meat added to the beer and sausage
If you are adding the chorizo crumble a handful over the the pan and mix into the beer then turn the bratwurst one final time and give the mixture a stir.
15 more minutes to allow the chorizo to warm through and then it finished!
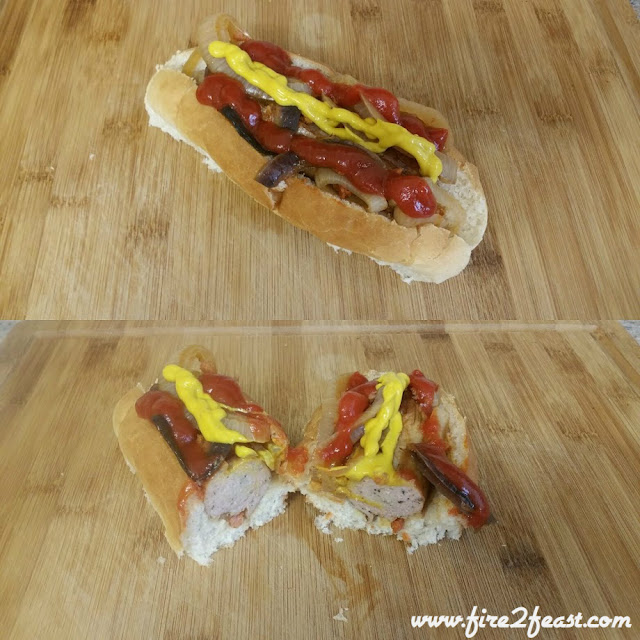
bratwurst and onions on buns with sauce
Finished and on buns
To serve stuff the finished bratwurst into some large hotdog buns, throw some of the onions on top and add lashings of the classic combination of mustard and ketchup!

While it takes more time and effort than the 7 or 8 minutes to warm some of the hot dogs you you get in a tin or a jar its more than worth it when you see the kids (and the adults) eyes light up when you serve up this awesome alternative.
In Fact the only thing i find wrong with this recipe is six just never seems enough as everyone comes back for more!

Beer Braised Bratwurst
www.fire2feast.com
Beer Braised Bratwurst
An easy recipe that can be cooked on the grill or in the oven and its a hit with the kids as hotdogs!

Ingredients

  • 6 Bratwurst Sausages
  • 1 red onion
  • 1 white onion
  • 6 hot dog rolls
  • 1000ml beer
  • 100g chorizo sausage (optional)

Instructions

  1. Preheat grill/oven to 230c (450f)
  2. Cut the two onions al layer them in the bottom of a roasting pan
  3. Pour the beer in the pan with the onions
  4. Brown off the sausage on all sides on the grill
  5. Put the sausage in the pan with the onions and beer and put the pan on the grill for around 15 minutes
  6. Turn the sausage over and stir the onions and beer and cook for a further 15mins
  7. Repeat twice more to make a total of 45 minutes and 3 turns of the sausage
  8. If adding the chorizo crumble it up and add now and stir into the beer and onions and cook for a further 15 minutes to warm the chorizo through then remove the pan from the grill
  9. To serve put the sausage in large hot dog buns, top with the onions then add ketchup and mustard to taste
Yield: 6
Prep Time: 00 hrs. 10 mins.
Cook time: 01 hrs. 00 mins.
Total time: 1 hrs. 10 mins.

Easy BBQ Chicken Wraps

Yum

This has got to be one of the easiest pulled BBQ chicken wraps ever and is just as easy to do in the oven as it is on the BBQ!
This isn't a long post but it's as simple to cook as it is short.
three halfs of the finished bbq chicken wraps
The Finished Wraps
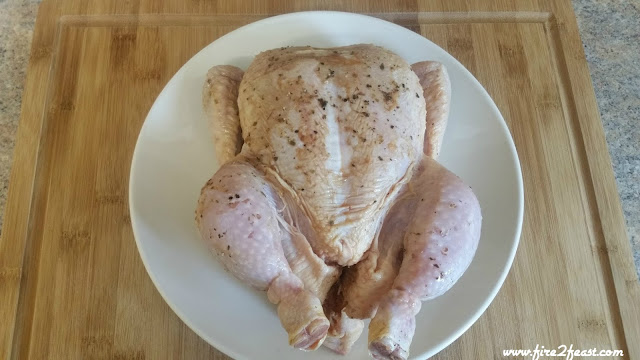
I started of with a whole chicken that was pre seasoned, its not important if its seasoned or not but its what they had in the store, if you have a plain chicken and want to season it id recommend keeping it simple, just salt and pepper will do!
raw pre seasoned chicken
The chicken
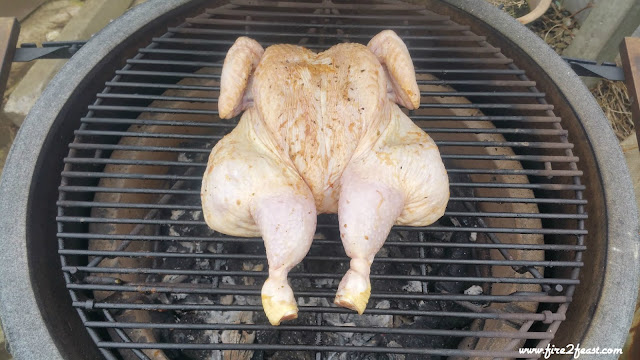
I spatchcocked the chicken  as described here as i find it the best way to cook a chicken on the grill.
With the grill preheated to 190c (375f) i added the chicken and cooked until the internal temperature was 74c (165f) with my thermapen which took around 1 to 1 1/2 hours.
spatchcock chicken on the grill
On the grill
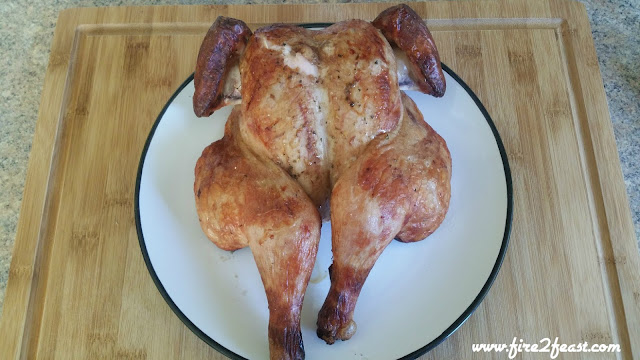
Once cooked take the chicken off the grill and tent with foil for around 10 to 15 mins.
resting spatchcocked chicken
The cooked chicken
Once the chicken has cooled enough to handle pull the meat from the bones and put directly into a pan, if you cant wait for it to cool it can be done with 2 forks but using your hands is more fun and saves a little of the washing up!
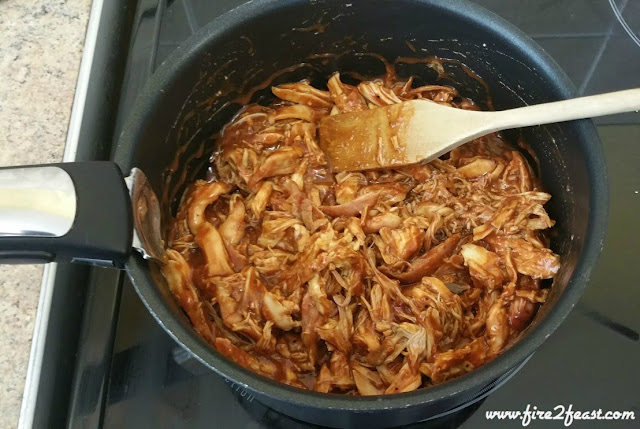
With the chicken meat shredded into a pan add the bbq sauce and warm over a low heat until its all mixed up well and warmed thru.
pulled chicken and sauce in a pan
Pulled chicken in bbq sauce
I used stubbs bbq sauce but just use your favorite as its the main flavour of the finished wraps.
Once warmed add a bed of the flat leaf salad to a wrap and then add a layer of the chicken in the sauce and sprinkle the grated cheese over it.
the wrap ready to wrap up
The unwrapped wrap
Finally wrap it all up and leave it a minuite or two for the cheese to melt then cut it half to serve!
the finished bbq chicken wraps
The finished wraps


Pulled BBQ Chicken Wraps

www.fire2feast.com
Pulled BBQ Chicken Wraps
This has got to be one of the easiest pulled BBQ chicken wraps ever!

Ingredients

  • 1 chicken
  • 3 cups bbq sauce
  • grated cheese
  • flat leaf salad
  • tortilla wraps

Instructions

  1. Preheat the grill to 190c (375f)
  2. Spatchcock the chicken by removing the spine and flattening out.
  3. Put the chicken on the grill cooking over direct heat for approximately 1 hour and 30 minutes untill the internal temp is at 74c (165f)
  4. Once cooked remove from grill and tent with foil allowing the chicken to cool slightly
  5. Once cooled pull the meat from the bones shredding directly into a pan.
  6. Add bbq sauce to pan and warm over a low heat while stirring the sauce into the chicken untill the sauce and chicken are warmed
  7. Add a bed of salad to a wrap then top with the pulled chicken and sprinkle with the grated cheese
  8. Wrap/roll up and cut in half to serve.
Prep Time: 00 hrs. 10 mins.
Cook time: 01 hrs. 30 mins.
Total time: 1 hrs. 40 mins.

Charred Tandoori Chicken Stuffed Pita Breads

After making some pita breads from my recipe here, i needed something good to fill them with.
I'm a big fan of tandoori chicken so i decided to give it a blast.
Homemade tandoori chicken in homemade pita bread
Charred Tandoori Chicken Stuffed in Pita Breads

This isn't a hard recipe at all, the hardest part is waiting for the chicken to marinate and take on that awesome tandoori flavour.
I started of by getting all the ingredients together.
Ingredients for the tandoori chicken marinade
The ingredients

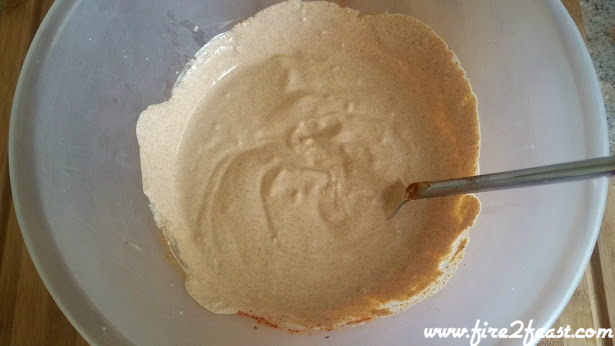
Then i measured them all out and put them into a bowl and mixed well to make sure it was all combined and looked like this:
Tandoori Marinade ingredients mixed together
The Marinade
Next i chopped up the chicken and added it to the marinade and stirred well to make sure that it was all coated.
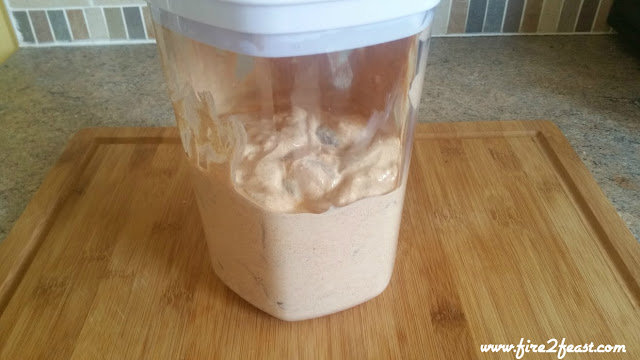
Then i did what i wished id done to start with (if only to save some of the washing up) and put it all into a container with a lid to put into the refrigerator to marinate overnight.
marinade and chicken in a container with a lid
All in a container with a lid!
I left the chicken to marinade for about 24 hours, it would work with a much shorter time but i wouldn't do it for less than 3-4 hours personally.
Once i was ready to cook the chicken i put some wooden skewers in water to soak and set up the grill to cook direct at around 260c (approx 500f).
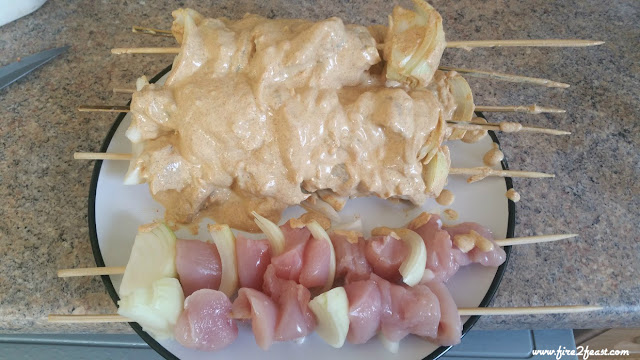
Once the skewers had soaked for a good 20 minutes i chopped up the onion and put on the skewers alternating the chunks with the chicken leaving some wood at both ends to make it a little easier to turn them over whilst cooking.
While i was making the skewers up i made a few plain ones too for the kids they love chicken but just don't like spices.
some tandoori chicken and plain skewers
Tandoori chicken skewers ready to cook with some plain ones for the kids

With the skewers all made up and the grill up to temp it was time to cook!
I oiled the grill then put the chicken on turning to make sure it was cooked evenly on all sides.
Tandoori skewers on the grill cooking
On the grill cooking

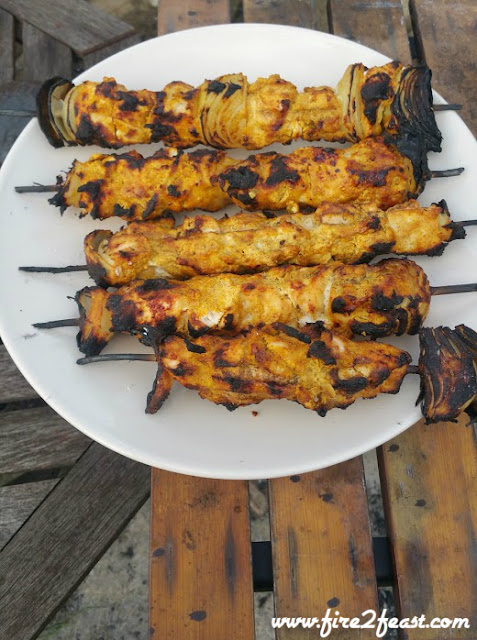
 These took about 12 minutes to cook but will vary depending on your grill, i checked they were cooked using my trusty Thermapen instant read thermometer just to make sure.
when they are done the marinade should have firmed up and be a little charred like below
The cooked chicken nicely charred
Charred Tandoori chicken
Now there done its time to eat!
Sliced some of my homemade pita breads and stuffed them with the chicken onions and some salad with a little mayo.
It was an awesome taste and just as good as the ones i buy from the indian takeout, but the thing that made it a stand out meal was the satisfaction that id made it all myself at home, from scratch for less than the takeout would have cost me!
tandoori chicken stuffed into homemade pita breads
Tandoori stuffed pita bread


Charred Tandoori Chicken

Charred Tandoori Chicken

www.fire2feast.com
Published 09/10/2016
This is my recipe for charred tandoori chicken which i used to stuff some pita breads i made from a previous recipe


Ingredients

  • 2 large chicken breasts cubed
  • 2 large onions cut into chunks
  • 6 garlic cloves
  • 2 tsp grated ginger
  • 1 tsp ground coriander
  • 1 tsp garam masala
  • 2 tsp turmeric
  • 2 tsp cumin
  • 1/4 tsp cayenne pepper
  • 1/2 tsp sea salt
  • juice of 1 lemon
  • 500g greek yogurt

Instructions

  1. In a large container with a lid, add all the ingredients except for the chicken and onion and mix well.
  2. Add the chicken breast chunks and mix well to ensure its coated well.
  3. Put the lid on and place in the refrigerator for 4 hours (preferably overnight) .
  4. When ready to cook soak wooden skewers in water and preheat grill.
  5. Add chicken and onions to the skewers alternating untill there is about an inch of wood remaining at each end
  6. brush with remaining marinade and place on grill, cook for 10-12 minutes turning occasionally.
  7. Rest for 5 minutes before serving
Prep Time: 04 hrs. 15 mins.
Cook time: 00 hrs. 12 mins.
Total time: 4 hrs. 27 mins.

Char Siu (Chinese BBQ) Ribs

Yum
I decided to make a change to the normal ribs i cook and had a hankering for the taste of the ones you get from a Chinese take-away, without having to go and fetch them.
Char Sui (Chinese BBQ) Ribs www.fire2feast.com
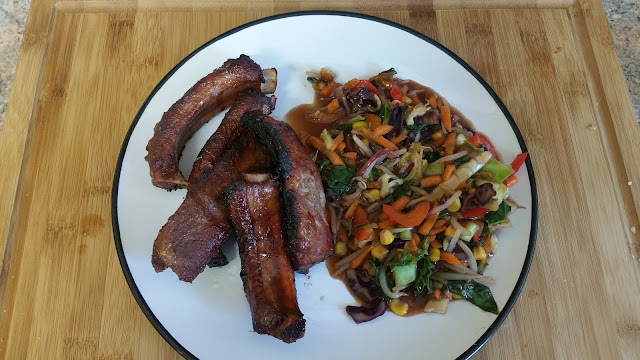
Char Sui Ribs with stir fried vegetables in hoisin sauce 
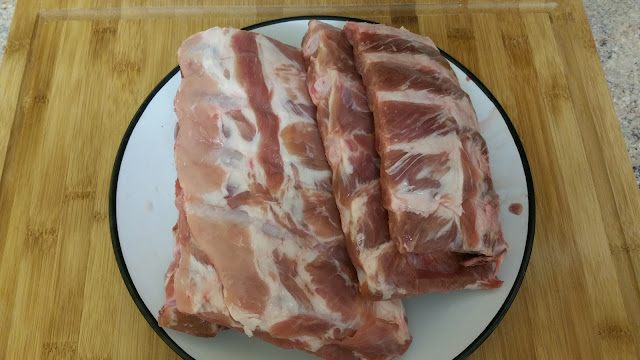
I started off with a few racks of ribs weighing around 1.4kg (approx 3 lbs) in total.
Half Racks of ribs www.fire2feast.com
These were bought from an online butcher as 4 racks of baby backs that i was going to smoke but when my order arrived i was disappointed to see that in my opinion the 4 racks were actually 2 racks that had been cut in half to make 4.
I wouldn't have been too bothered if I'd have known this and the price reflected it but i paid the same amount for these as i normally do for 4 full racks from Costco and the quality was the same.
The rest of the order was great quality and value so ill not name the retailer but the moral of the story is to double check what your buying, especially if you cant see it with your own eyes before paying for it!

As a result these were thrown in the freezer until i decided to use them for this cook
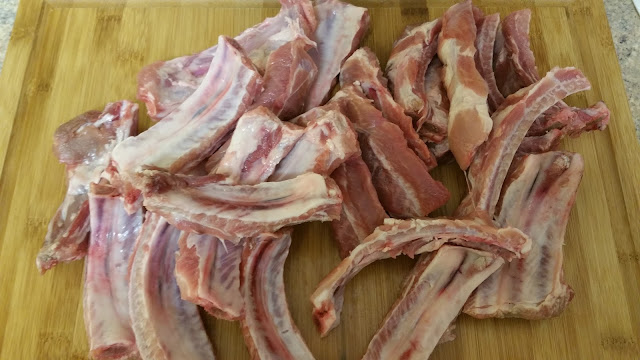
Riblets www.fire2feast.com
Racks cut into individual ribs
As i was cutting the ribs into individual riblets the fact i had half racks made no difference.
So i took out a sharp knife and began to cut up the racks by slicing down 1 side of the bone so each riblet had around the same amount of meat on the bone as the next.

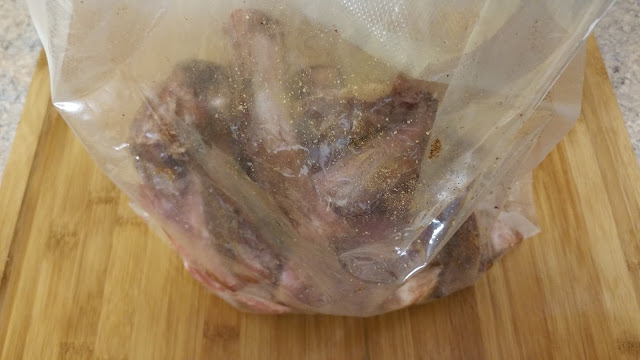
I put them all in a sealable bag and coated them the the Chinese 5 spice powder and set the bag aside while i prepared the rest of the marinade
Riblets in a bag www.fire2feast.com


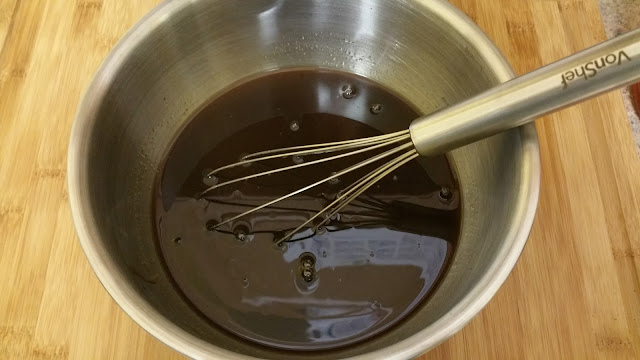
To do this a added hoisin sauce, soy sauce, honey and shaoxing rice wine to a bowl and gently whisked until everything was combined.
My char Siu marinade www.fire2feast.com

I then poured the mixture into the bag with the ribs and sealed the bag.
Once sealed i massaged the the marinade into the ribs through the bag then set the bag into a baking pan and put it into the fridge to marinate overnight.
Ribs in a bag in a pan www.fire2feast.com
Ribs in a bag, in a pan.
The pan isn't essential but its a habit i've come to use when using bags to marinate.
Bags are great for the job as you can massage the marinade into the meat etc and simply flip the bag over every hour or so ensuring everything in the bag gets a good coating of whatever marinade it is you're using, but if you marinating overnight or longer and the seal of the bag fails while you in bed asleep it means you've got a big cleanup to do in the morning (and i'm speaking from experience here!)
If you dont have a pan that fits your fridge you could just double or triple bag the food.

I made this on the friday night with every intention of cooking the ribs on the saturday but as is life something came up and they were stuck in the fridge until monday evening before i got around to cooking them.
So at least twice a day i flipped the bag over in the pan and gave the ribs a little massage.

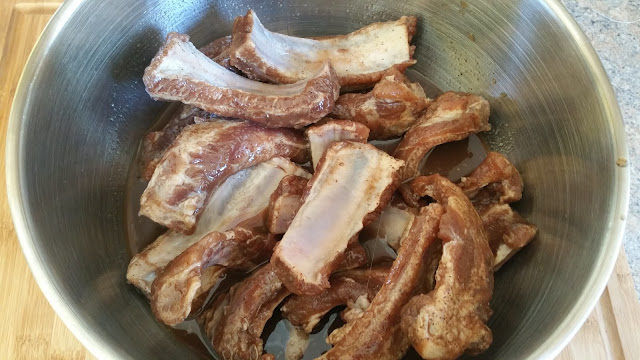
When i finally had the time to get them cooked i got the grill up to temp and took the bag out of the fridge and emptied them into a bowl.
Marinated ribs in a bowl www.fire2feast.com

I removed the ribs and covered the bowl to reserve the marinade to use as a glaze.
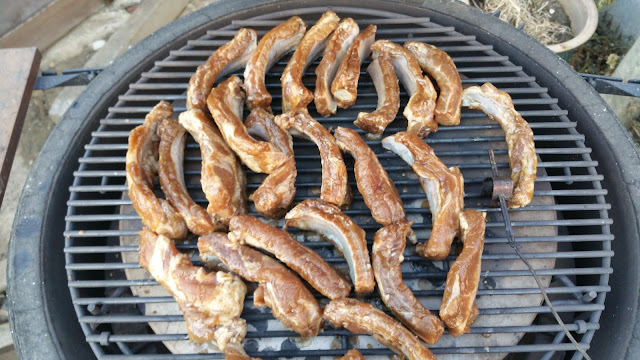
Char siu ribs on the grill www.fire2feast.com
Ribs on the grill
I cooked them for 30mins before basting them with the reserved marinade, then cooked for a further 30mins before basting them again.
Once basted for the second time i opened the vents of the bbq to let the temp raise while i stir fry the veg
Stir fry veg with hoisin sauce www.fire2feast.com

It was a simple pre packed bag of stir fry vegetables that i cooked in a pan with some hoisin sauce.

By the time the veg was cooked the ribs were ready!
www.fire2feast.com

I plated them up with the stir fried veg to serve and sat down to eat!
Char siu ribs with stir fried veg www.fire2feast.com
All Plated Up
While these ribs were sat in the fridge for days taunting me i think it was well worth the wait, the smell that filled the garden while they were cooking was a-may-zing! my neighbours must have been drooling, i know i was!


Char Siu (Chinese BBQ) Ribs

www.fire2feast.com
Char Sui (Chinese BBQ) Ribs

Ingredients

  • 1.4 kg Ribs
  • 3 tbsp Chinese 5 spice powder
  • 2 cups / 500ml hoisin sauce
  • 3 tbsp soy sauce
  • 1/2 cup / 125ml honey
  • 1/2 cup / 125ml shaoxing rice wine
  • Stir fry vegetables

Instructions

  1. Slice the ribs along one side of the bone to separate into individual ribs
  2. Add all the ribs to a large sealable bag and add the Chinese 5 spice powder, shake the bag and massage the ribs through the bag to ensure they are all coated then set aside
  3. In a bowl add the hoisin sauce, soy sauce, honey and shaoxing rice wine and gently whisk together until everything is combined
  4. Pour the mixture into the bag with the ribs and seal. Massage the ribs through the bag then place in the fridge to marinate overnight or longer
  5. Once marinated, open the bag and pour the contents into a large bowl with a lid and remove the ribs, reserving the marinade for glazing
  6. Put the ribs on a grill cooking indirect at 160c (325f approx ) for 30mins
  7. Brush the rib with the reserved marinade and cook for a further 30mins
  8. Open vents on BBQ to increase heat, brush ribs with marinade and cook for a further 5 to 10mins whilst stir frying the vegetables
Prep Time: 12 hrs. 00 mins.
Cook time: 01 hrs. 10 mins.
Total time: 13 hrs. 10 mins.